
The quality of a session starts before the camera is turned on. When products arrive clean, complete and clearly identified, the team can dedicate time to the lighting, composition and retouching that help images sell. This guide explains how to prepare each shipment to enable fast work and avoid re-shoots, delays or inconsistent results.
At Epic Studio we receive products from across Spain and organize packshot, lifestyle, fashion, accessories and ecommerce productions. A well-prepared package allows us to confirm the briefing, inspect the condition of samples and return the materials in an orderly manner.
Contents
What should arrive at the studio
Before preparing a box, define which images you need and which units will be used. For a simple product, a single sample in perfect condition is usually sufficient; for a catalog with variants, send one unit of each color, size, or finish that should appear in the gallery.
- The exact reference and the commercial name of each product.
- All components that must appear together in the photograph.
- Accessories, manuals, or parts needed to demonstrate actual use.
- A spare unit when the item is fragile or difficult to replace.
Inventory and references: the foundation of an organized session
Prepare a shipping list before closing the box. Include SKU, color, size, quantity, and any notes that may affect the shoot. If the product has multiple views or configurations, indicate this alongside the reference so the photographer knows what to capture.
It also helps to send a folder with reference photographs, links to the product page, and examples of the style you are aiming for. These references do not replace the briefing, but they help identify differences in color, proportion, or assembly before starting.
Cleaning and inspection before packaging
A speck of dust, a crooked label, or a wrinkle can become very visible at high resolution. Inspect each unit under uniform light and remove adhesive residue, fingerprints, fibers, and dust. Do not use cleaning products that may leave shine, stains, or a film on the surface.
- Check closures, buttons, caps, zippers and mechanisms.
- Remove temporary tags and keep only those that should be visible.
- Check that the original packaging is not deformed or damp.
- Separate items with acid-free paper or clean covers so they do not rub against each other.
How to prepare garments and textiles
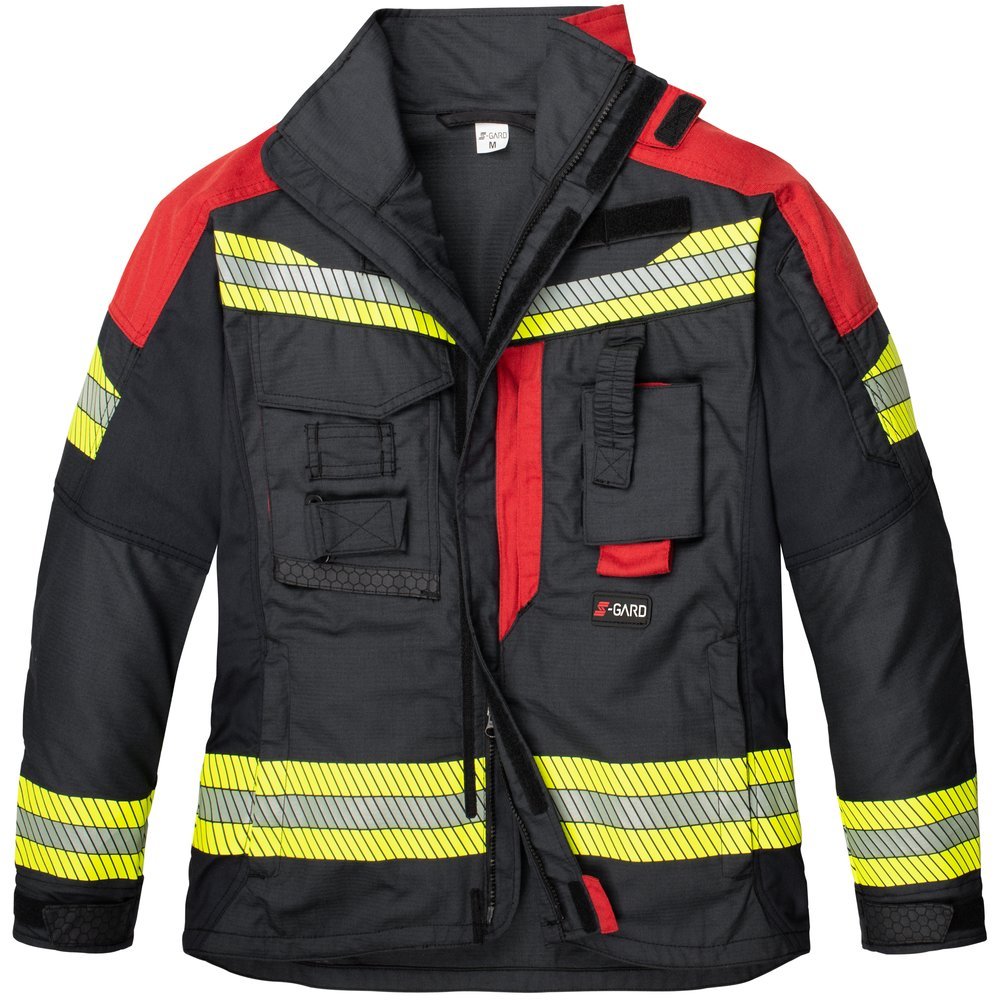
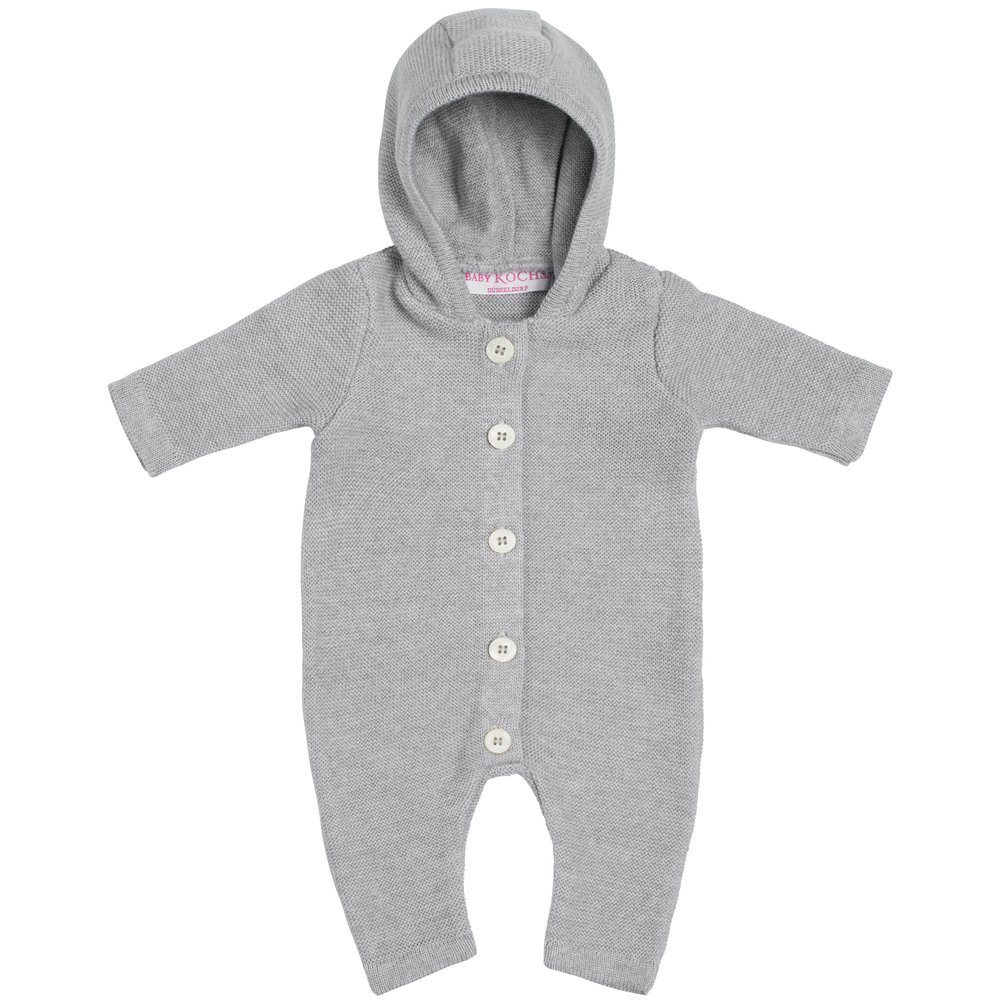
Garments should arrive clean, dry and free of deep wrinkles. Fold each piece with tissue paper or hang it in a breathable cover; avoid sealed bags for long periods as they can trap odors or moisture. If we require a specific drape, note the model's size, measurements and the intended fit.
Send complete pairs and check that seams, zippers and linings are in place. For a fashion shoot, separate complete looks into labeled bags. This maintains continuity between shots and allows outfit changes without losing time.
Glass, metal and delicate surfaces
Glass and polished surfaces show reflections, micro-scratches and fingerprints that may go unnoticed at first glance. Wrap each piece separately, secure the interior of containers and indicate any area that must not be touched. For painted or chrome-plated metals, use clean gloves and soft separators.
Key point: Packaging should protect the product without concealing important information. A brief note about the finish, reflections, or the correct orientation prevents incorrect decisions during the photo session.
Parts, accessories and assembly
When the product is sold as a set, send all the components the buyer will receive. Include screws, cables, mounts, caps and accessories, even if they seem secondary. If the item requires assembly, include instructions or a photograph of the final assembled product.
- Number small parts and keep them in individual bags.
- Indicate which items are mandatory and which are optional.
- Indicate orientation, assembly order and approximate scale.
- For flat lay compositions, separate the elements according to each scene.
Documentation and briefing: what to send
A good brief answers five questions: what is being photographed, for whom, where it will be published, what format it needs to be, and what delivery date you require. Include visual references, product dimensions, and any brand restrictions. If there is a mandatory background, color, or framing, state it explicitly.
- Shot list and priorities.
- Publishing channels: website, marketplace, catalog or social media.
- Formats, aspect ratios and safe areas for text.
- Brand colors, approved examples and elements that must not be retouched.

Shipping, receiving and returns
Choose a sturdy box and leave enough space for padding. Place one copy of the inventory inside and another in an external envelope. If the shipment contains fragile items, label the box and provide the tracking number. Upon receipt, the studio can check the contents and notify you of any issues before scheduling the session.
Also agree in advance what will happen after production: full return, temporary storage, or disposal of consumables. Clear instructions prevent unexpected costs and allow planning of the delivery schedule.
Final checklist and frequently asked questions
- Is each reference identified and consistent with the brief?
- Are the units clean, dry and undamaged?
- Have all parts, variants and accessories been included?
- Are garments ironed or protected against wrinkles?
- Does the box contain inventory, instructions and contact details?
- Are the image format and target date clear?
Can I send a single sample first? Yes. For new or complex products, an approval sample lets you confirm scale, finish and style before preparing the rest of the catalog.
What happens if the product arrives with a defect? We will inform you before photographing it. That way you can decide whether to replace the unit, document the defect, or proceed with an alternative shot.
If you're preparing a catalog, send us your product list and the intended publishing channel. We'll help define the shots, coordinate sample reception, and prepare a budget tailored to your project.