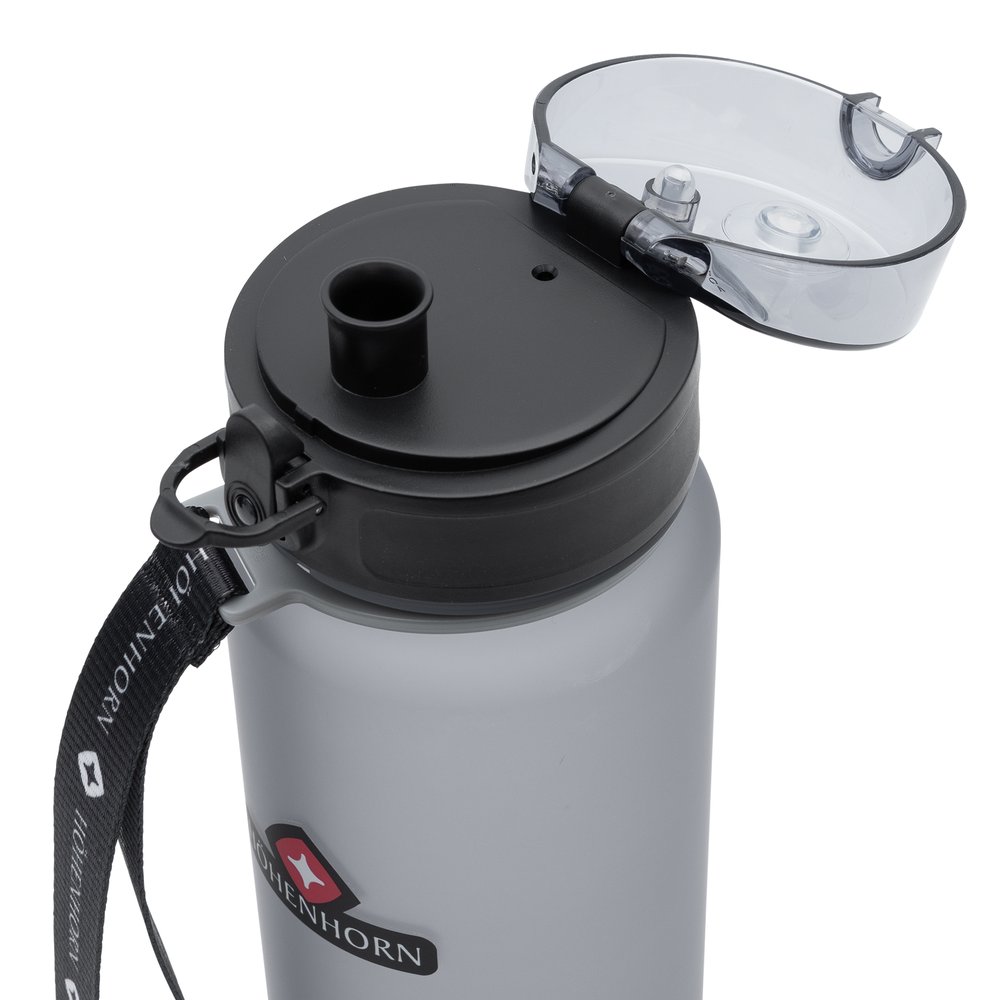
Glass, metal and glossy surfaces turn a product shoot into an exercise in light control. Reflections are not a flaw that can always be erased in retouching: they also define shape, material and perceived quality. In this guide we explain how to plan, light and retouch these items so the result is clean, faithful and useful for selling online.
Contents
- What makes these materials difficult to photograph
- Transparent glass: shape, edges and volume
- Polished metal and chrome surfaces
- How to control reflections
- Light, background and product separation
- Details, texture and color fidelity
- Common mistakes in this type of shoot
- Workflow and retouching
- Final checklist and frequently asked questions
What makes these materials difficult to photograph
A reflective surface doesn’t just receive light; it reflects everything in front of it. That’s why a lightbox, a window, the camera or a wall can appear on the product even if they aren’t part of the scene. On a bottle, a jar or a metal piece, the silhouette of the reflection can change the perceived volume.
The priority is deciding which reflection helps define the shape and which distracts. Work with large, controlled light sources, black or white flags and a fixed camera. Moving the light a few centimeters can completely transform the edge, the highlights and the perceived quality.

Transparent glass: shape, edges and volume
Transparent glass needs contrast. Against a completely white background it can disappear, whereas a light gray background or a soft gradient allows you to separate the contours without compromising the image. Place white or black cards just outside the frame to outline the sides and preserve a light line on the most important edge.
Also check the interior: the liquid, the cap and the label must retain their true color. If the product has multiple layers of transparency, take a base exposure and another for the highlights; then combine both using a simple mask during retouching.

Polished metal and chrome surfaces
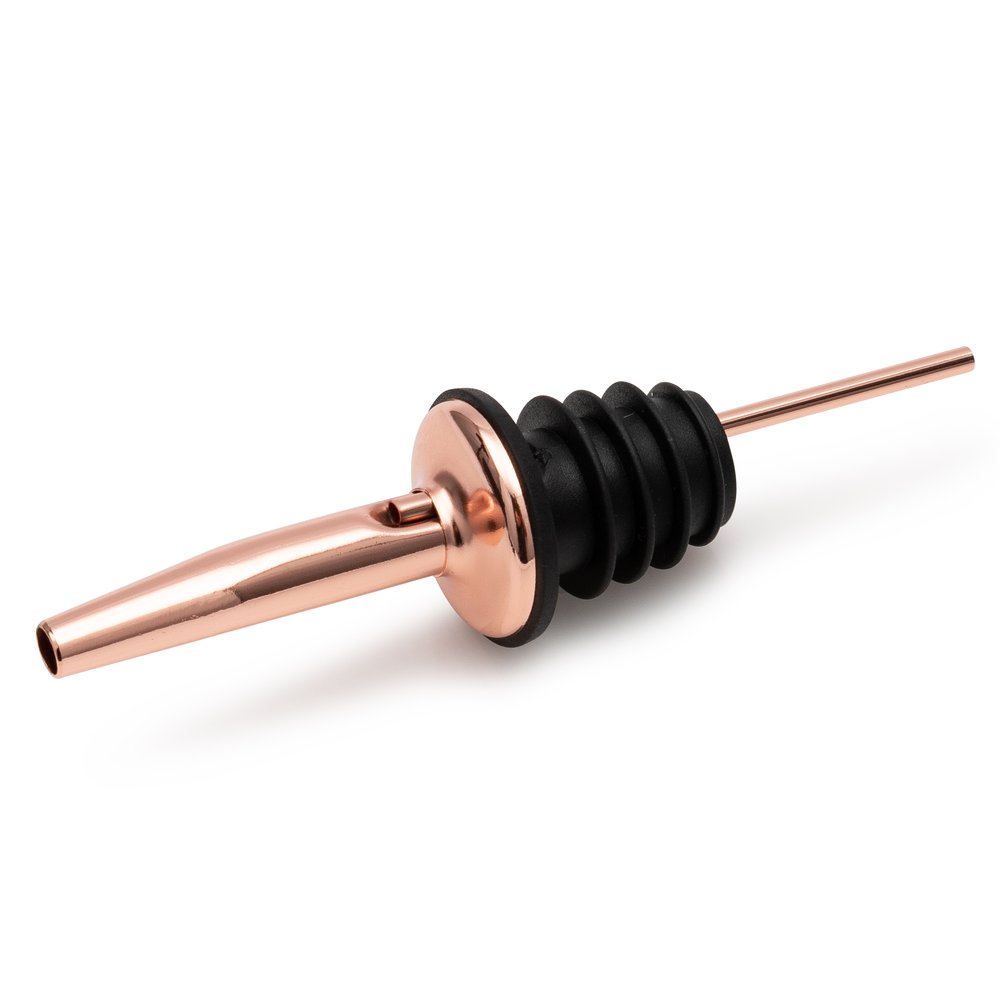
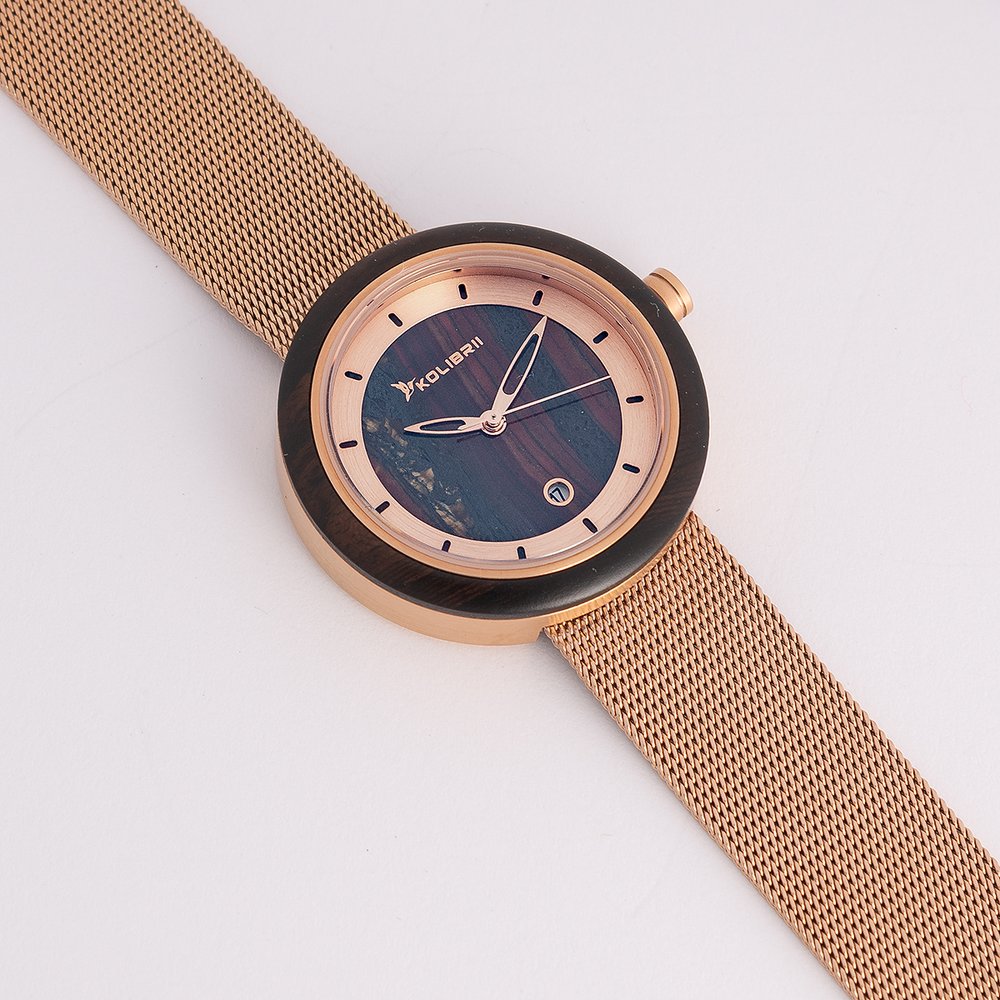
Polished metal behaves like a distorted mirror. A small light source produces very hard white spots, while a large source creates softer, more elegant bands. For round pieces, try paper strips or curved panels that reflect continuously and avoid having the studio horizon cross the piece.
For small accessories and components, it's advisable to work at low power and bring the diffuser closer. This preserves detail in the dark areas without blowing out the highlights. The goal is not to eliminate all variation, but to maintain a clear read of the curvature and finish.
How to control reflections
Begin by removing from the reflection area anything you don’t want to appear: tripods, dark clothing, windows and cables. Then shape the reflection using clean surfaces. Black flags carve a dark silhouette in glass and metal, while white panels lift a side without producing a bright specular spot.
Do not change five variables at once. Fix the camera, the product and the exposure; move only one flag or one light source and observe which part of the reflection changes. This sequence creates repeatable references when photographing many variants of the same product.
Light, background and product separation
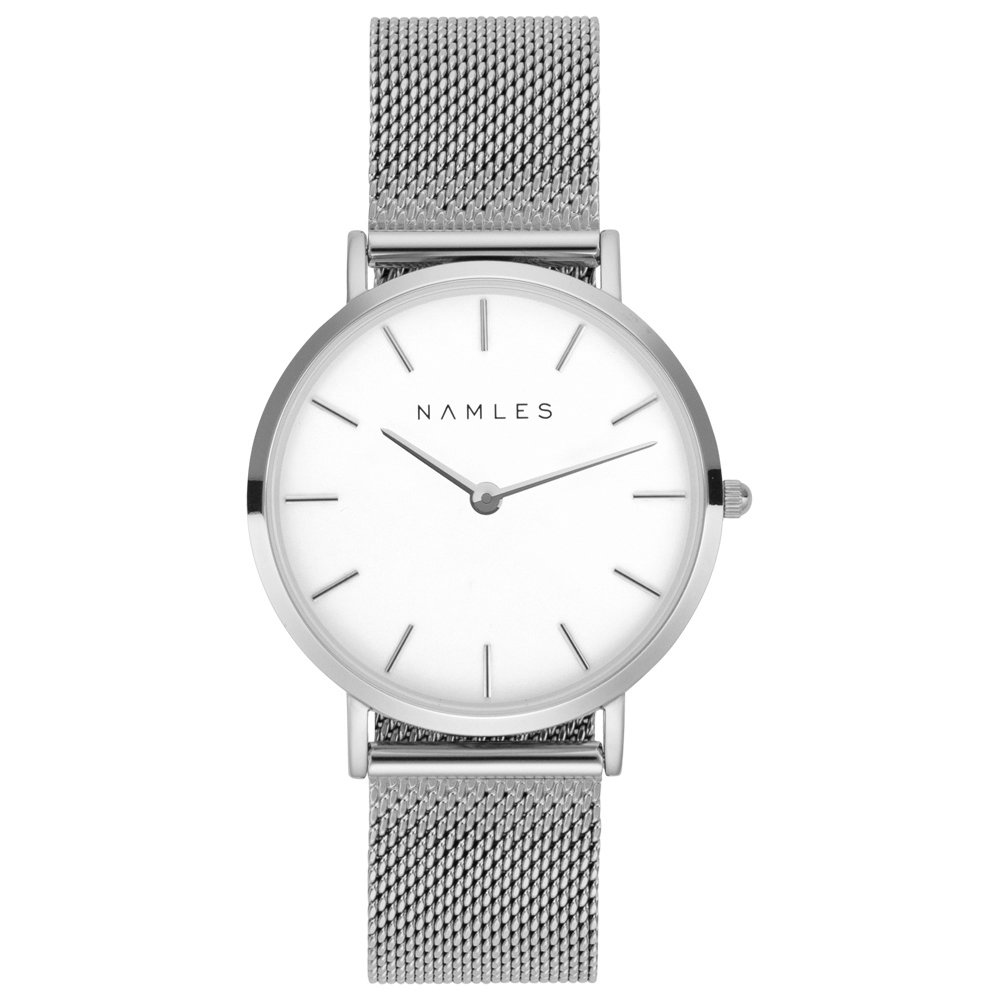
The background should support the material, not compete with it. Pure white works for catalogs when edges are well defined; a very light gray is usually safer for glass, chrome and black objects. Leave distance between product and background to avoid light spill and halos around the silhouette.
For ecommerce, maintain a consistent light direction across references. Consistent background and contrast make it easier to compare sizes, colors and finishes on the same category page.
Details, texture and color fidelity
With glossy materials, the client is also buying a tactile impression: cold, smooth, polished, satin or transparent. Include at least one view that shows texture, seams, engravings and small real imperfections. An image that is too smooth may look CGI or hide important information.
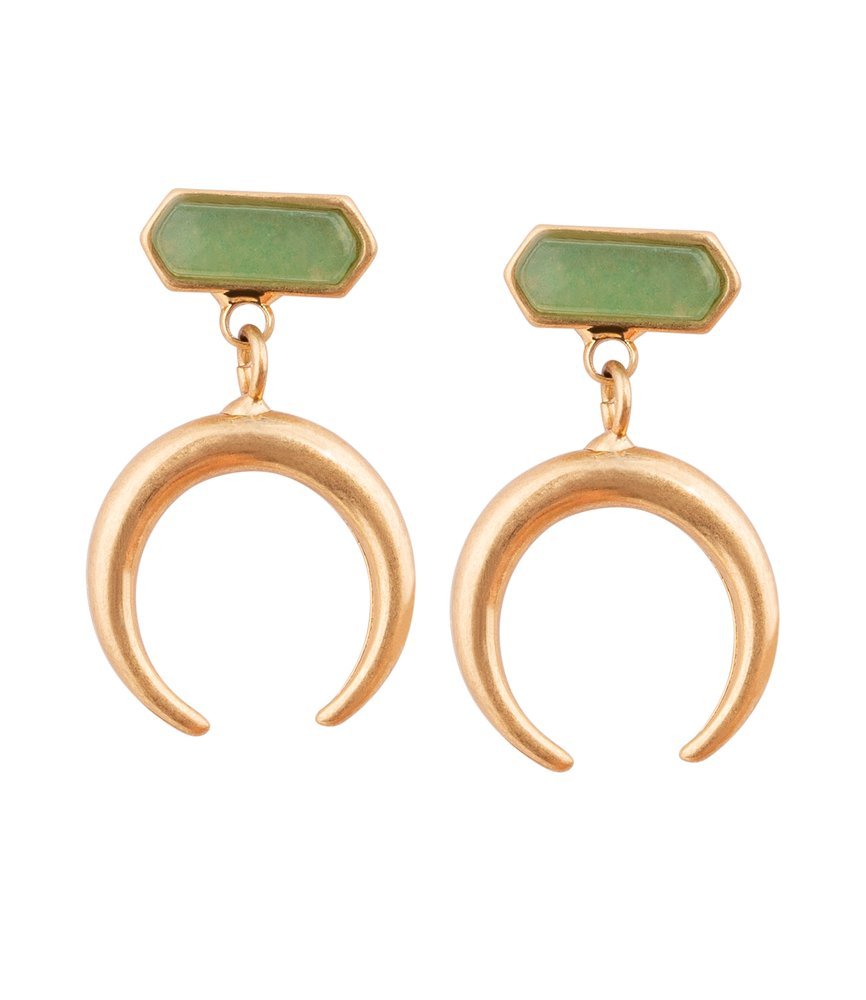
Set white balance using a neutral reference and check color in the same profile you will use for export. In jewelry and accessories, a warm cast can change the perceived metal; in glass, it can alter the color of the liquid and the label.
Common mistakes in this type of shoot
The most common mistake is lighting the object as if it were matte. It is also frequent to shoot with a source that is too small, to crop transparent edges, or to correct reflections with retouching that erases the shape. Another issue appears when each variant is given a different position and the catalog loses coherence.
Before reshooting, check the histogram, the edges and the transition areas. If a reflection cannot be explained, return to the lighting: five minutes of preparation usually saves a lot of editing time.

Workflow and retouching
A reliable workflow starts with a clean reference: sensor, work surface and product free of dust. Then take a test shot, correct the position of the flags and record the setup. Once the lighting works, photograph all variants without changing the set geometry.
In post-production, remove dust, small spots and background inconsistencies, but preserve the reflections that reveal the material. Work with layers and masks to adjust highlights, color and contrast without destroying texture. Deliver a master file and copies prepared for the store, the marketplace and social media.

Final checklist and frequently asked questions
Checklist: clean the product; secure camera and background; choose a large light source; prepare white and black flags; check edges and transparencies; verify color and reflections at 100%; export with the publication channel's profile and size.
Do I need a white background? Not always. For a marketplace it may be mandatory for the main image, but a secondary view can use a soft gray if it improves the visibility of glass or metal.
Can all reflections be removed? Not recommended. It's better to control reflections rather than erase them completely: they are the visual cues that help convey volume and finish.
What should the studio receive? The clean product, framing instructions, color references and channel requirements. If there are multiple variants, group and label each one to maintain a consistent series.