
Product photography is the meeting point between information and trust. Before reading a technical sheet or comparing prices, the customer looks at the image and decides whether the product appears real, well cared-for and suitable for their needs. In this guide you will find a comprehensive method to plan, light, photograph and prepare product images for online stores, marketplaces, catalogs and campaigns.
Contents
- What is product photography
- What a good image should achieve
- Types of product photography
- How to choose the right format
- Essential equipment
- Lighting and materials
- Camera settings
- Product preparation
- Professional workflow
- Post-production and delivery
- Artificial intelligence used judiciously
- Requirements for stores and marketplaces
- Common mistakes
- Control checklist
- Frequently asked questions
What is product photography
Product photography represents an item in a clear, attractive and technically reliable way. It can be a packshot clean shot for an e-commerce product page, a lifestyle scene for a campaign, a series of detail shots to explain materials, or a 360° view that allows exploring the object.
Its goal is not only to “take a pretty picture”. A commercial image must preserve the product’s shape, color, texture and proportions, and adapt to the channel where it will be published. That is why briefing, lighting, repeatability and file preparation are as important as the camera.
Key idea: A good image answers, before purchase, the questions the customer cannot resolve physically: How big is it? What finish does it have? What details will I receive? How will it look from other angles?
What a good product image should achieve
A professional set combines four objectives. First, accuracy: the item should resemble the real product. Second, consistency: all items in a catalog should share scale, framing and color. Third, commercial intent: the image should highlight the benefit or use that matters to the buyer. Fourth, flexibility: files should work on web, mobile, marketplaces, social media and, when necessary, print.
Types of product photography
Packshot or cut-out product
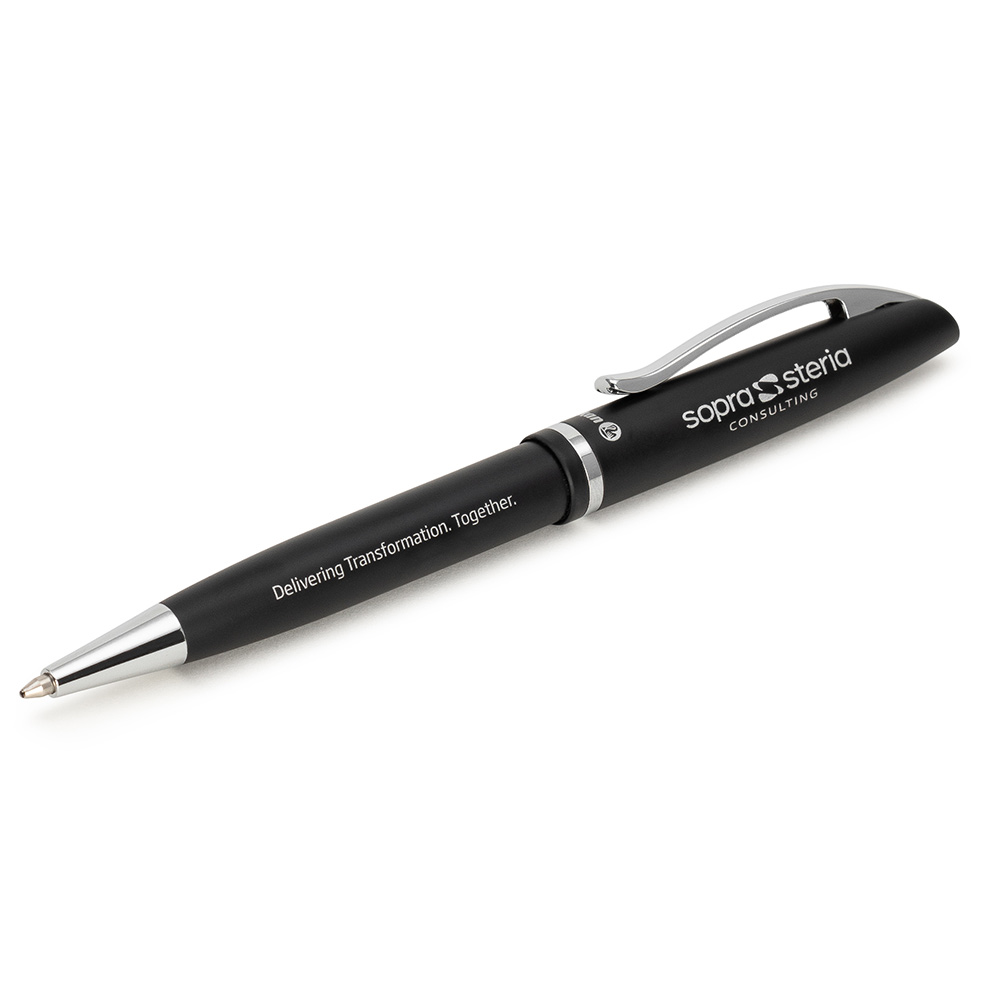
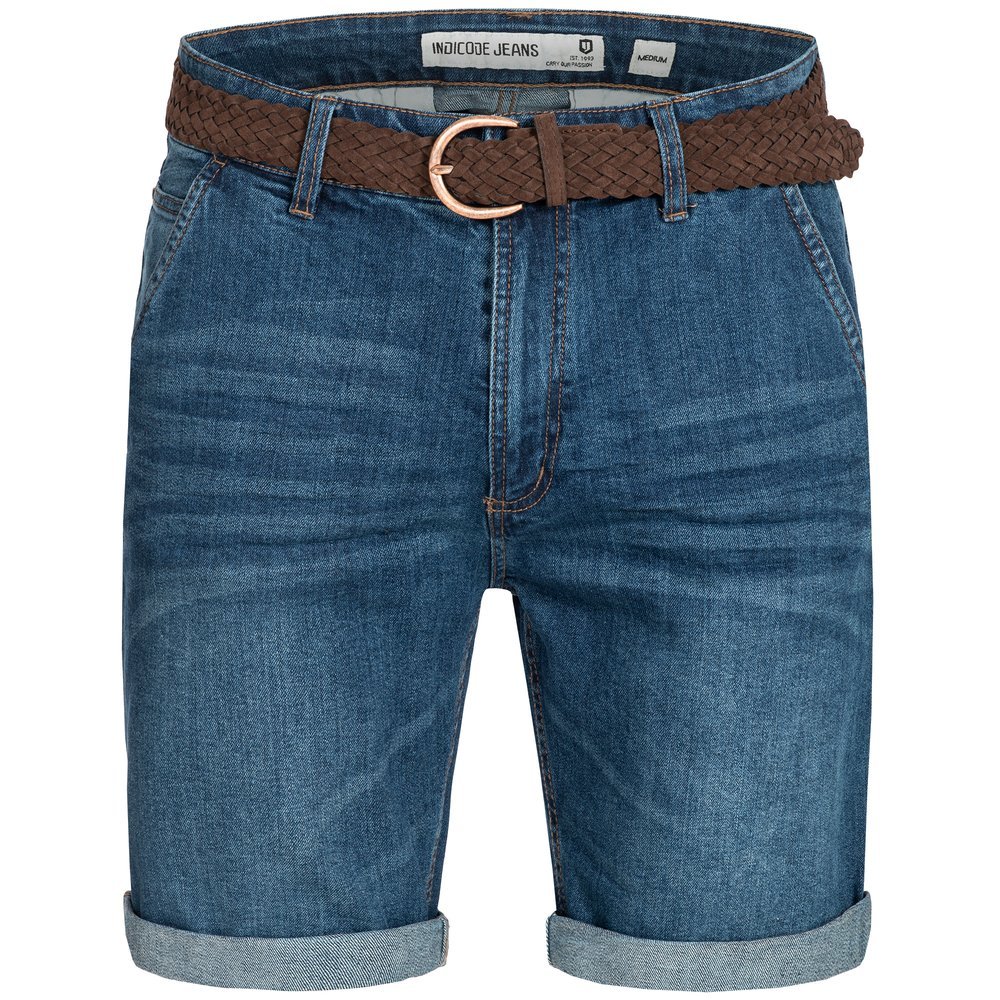
This is the main image on a white, neutral or transparent background. The item appears centered, clean and free of distracting elements. It's the most useful format for catalogs, online stores and marketplaces because it makes comparing items easier and keeps the product page organized.
Ghost mannequin or invisible mannequin
In fashion, the garment is photographed on a form and the mannequin is removed during retouching. The result preserves volume, collar, sleeves and drape without showing a person. It's an efficient solution for large collections that require a consistent presentation.
Model photography
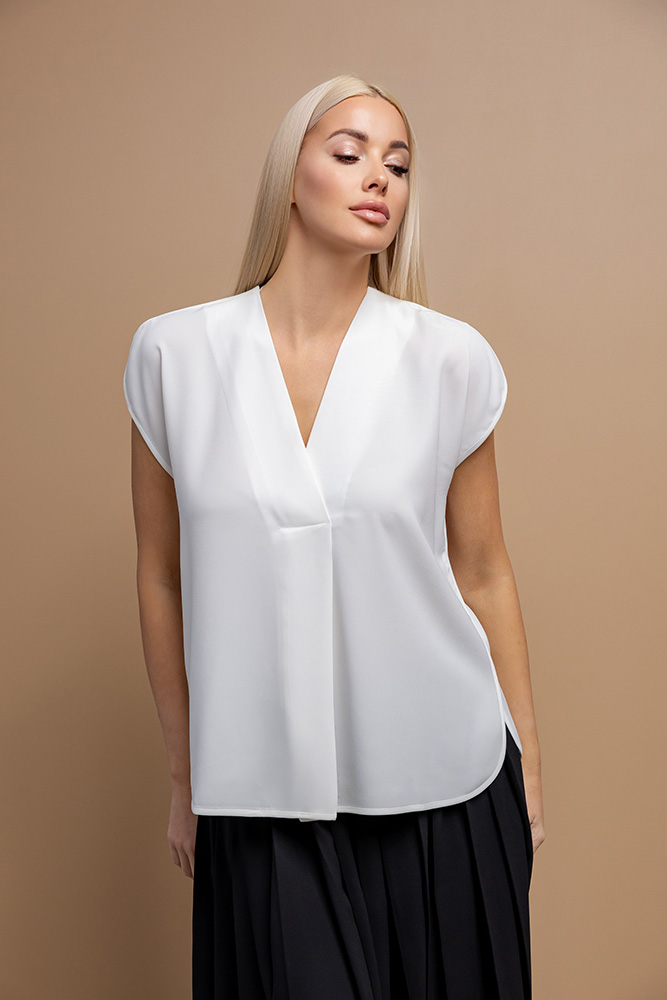
The model helps communicate proportion, movement and style. It's especially useful for clothing, accessories, footwear and products whose value is better understood in use. These scenes should be combined with isolated product images so the customer can also inspect seams, fastenings and finishes.
Flat lay and top-down compositions
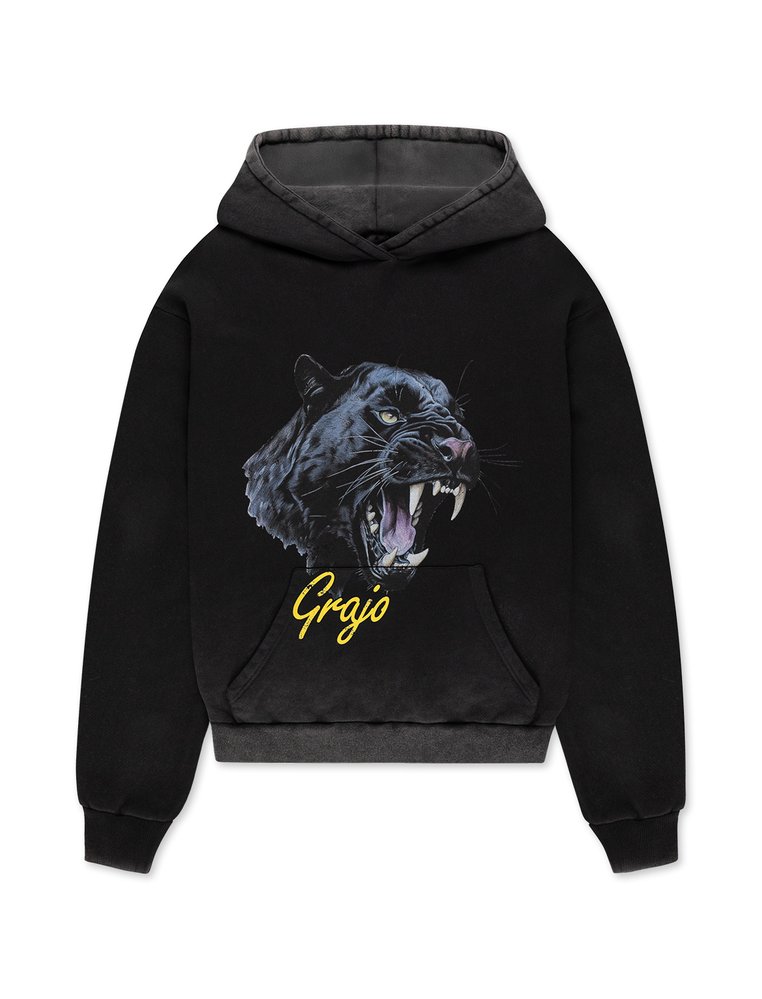
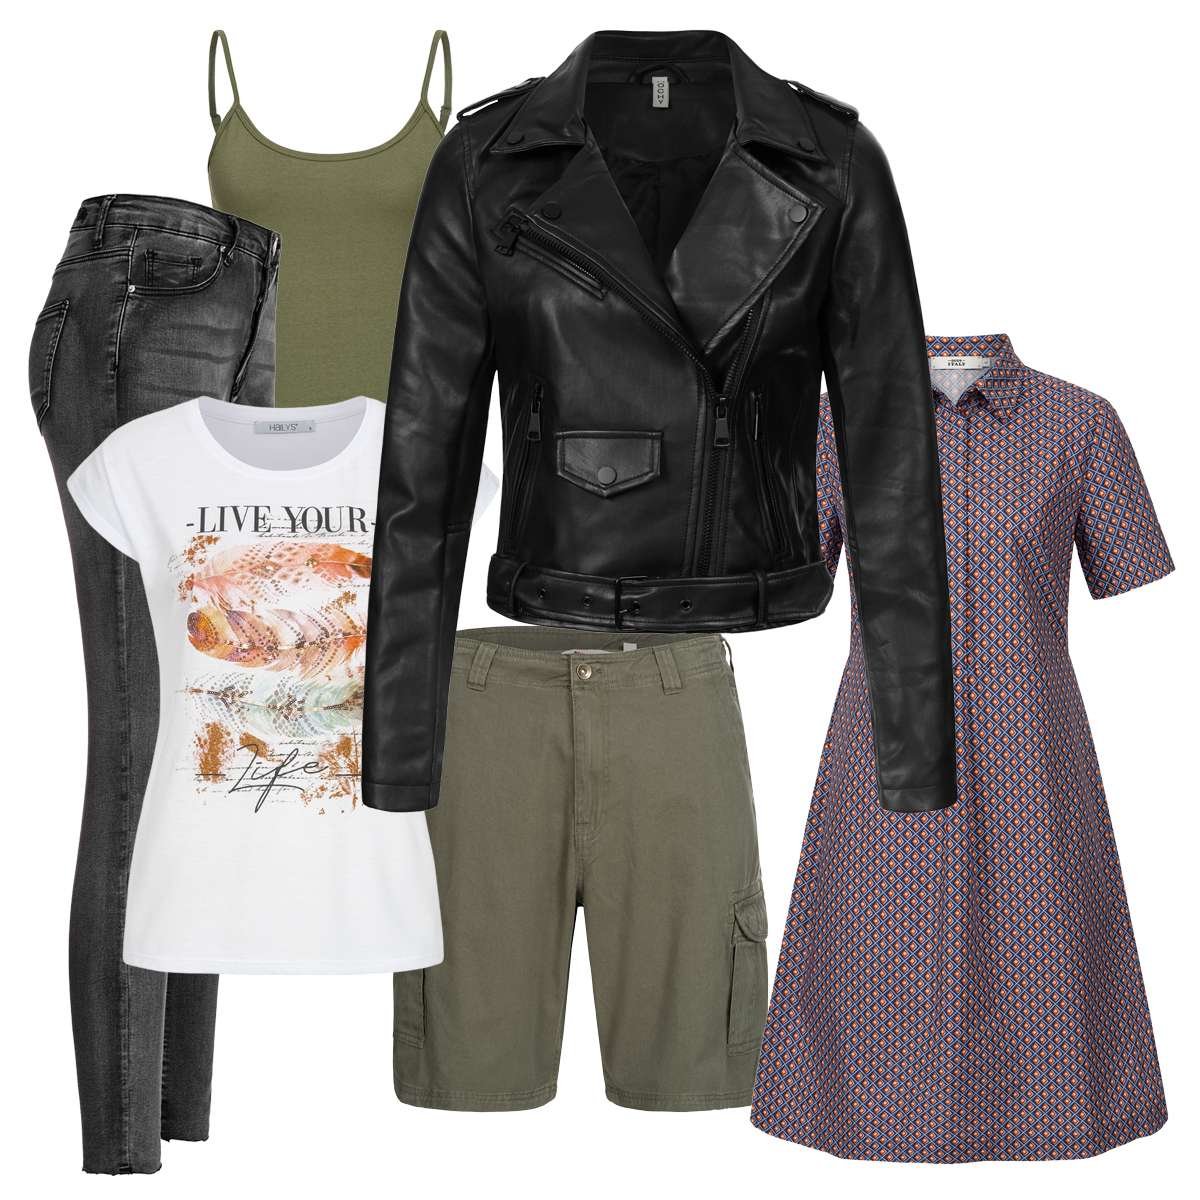
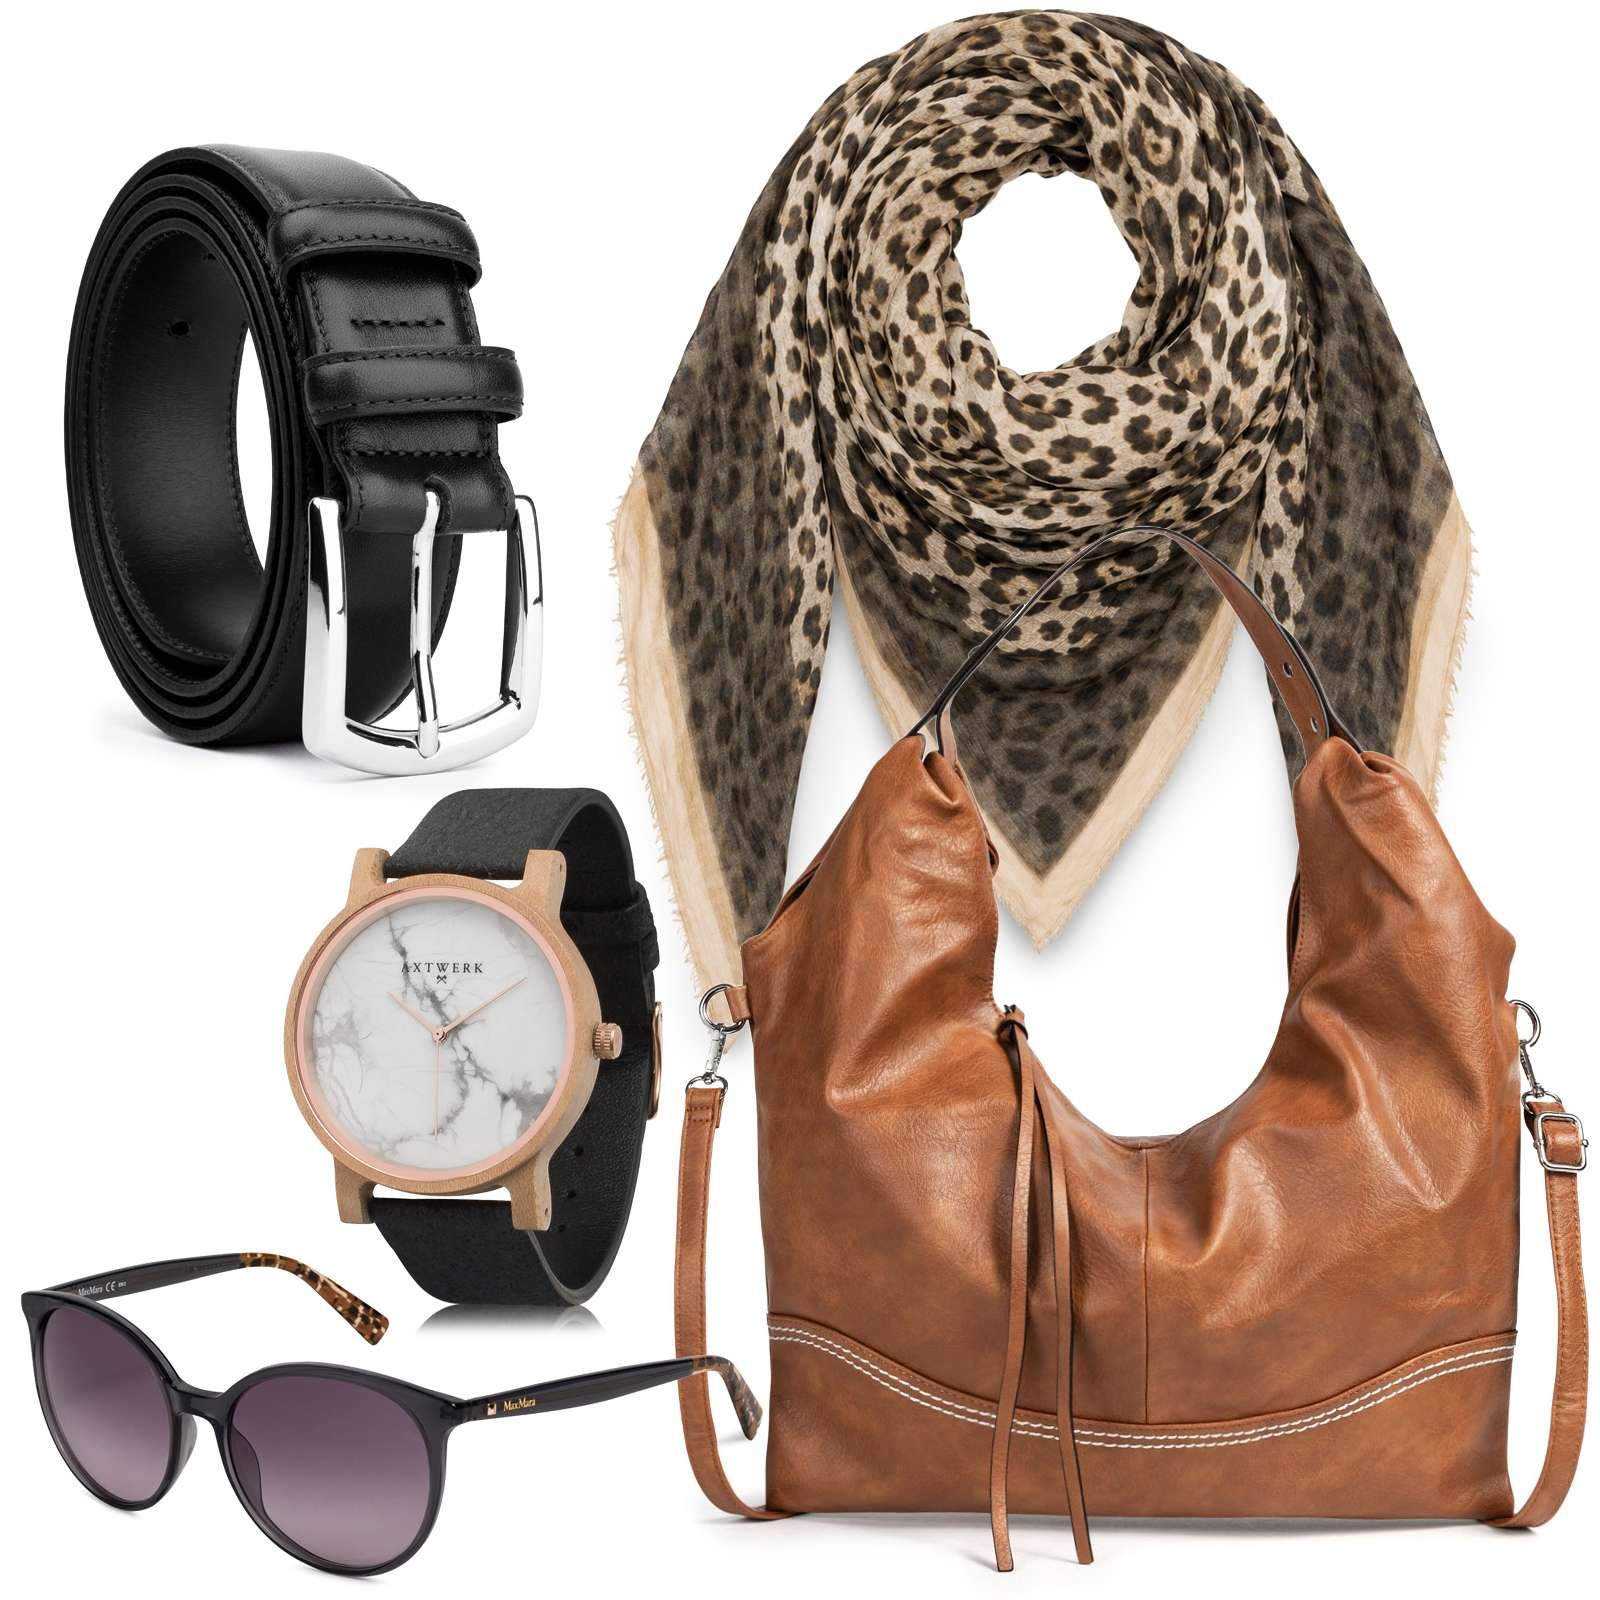
The product is arranged on a surface and photographed from above. Flat lay works well for outfits, accessories, stationery, cosmetics and social media content. The key is to organize the space and maintain a clear hierarchy: the main item should stand out from the supporting elements.
Still life or commercial still life

A still life uses backgrounds, textures and supporting objects to tell a brand story. It is ideal for campaigns, banners and social media. Decorative elements should reinforce the message without hiding the product or distorting its color perception.
Details and macro photography

Close-up views show fabrics, textures, ingredients, closures, stitching and finishes. They are decisive when texture is part of the value proposition. A detail shot does not replace the overall view; it complements it.
360° and product video
A 360° series brings together photographs taken from regular angles so the user can rotate the object. Video allows you to demonstrate movement, operation or texture. Both solutions increase the available information, provided they are produced with the same framing and stable lighting. See our page on 360° photography to learn about the studio's approach.
How to choose the right format
Start from the end use and work backwards. For the main image of a product page, prioritize a straight packshot. To explain a garment, add ghost mannequin, model and detail shots. For a campaign, include a lifestyle scene. For a technical or high-value item, consider 360° views, video and macros.
| Requirement | Recommended format | What it should show |
|---|---|---|
| Compare product variants in a shop | Consistent packshot | Shape, color, scale and a clean front view |
| Explain a garment | Ghost mannequin + details | Volume, drape, construction and finishes |
| Inspire and build the brand | Still life or lifestyle | Context, use and visual personality |
| Reduce uncertainty about a product | Angles, macro or 360° | Rear, texture and mechanisms |
| Show movement | Short video | Operation, opening, application or scale |
Essential equipment to get started
Camera and lens
A camera with manual controls and the ability to shoot in RAW provides flexibility to preserve color and detail. The most expensive body is not essential: lens choice, lighting and stability usually have a greater impact on the result. A normal or slightly telephoto focal length helps preserve proportions; for small objects, a macro lens allows close focusing without losing definition.
Tripod and tethered shooting
The tripod maintains framing and prevents camera shake. When photographing a series, marking the camera and product positions saves time. Shooting tethered to a computer allows you to review focus, reflections and dust on a large screen before continuing.
Backgrounds and supports
A curved seamless base without visible corners simplifies a white background. For creative scenes you can use cardstock, stone, wood, textiles or colored surfaces, as long as they are clean and consistent with the brand identity. Clips, threads, reusable putty and transparent supports help position the product without being noticeable in the final image.
Control accessories
Include diffusers, reflectors, black flags, clamps, cotton gloves, microfiber cloths, canned air and a color chart. These simple tools reduce reflections, fingerprints and variations between shots.
Lighting: how to reveal shape, texture and material
Light not only determines exposure. It also defines volume, the hardness of shadows, surface gloss and the perceived quality. The first decision is whether a large soft source or a more directional light is appropriate. The second is controlling what the product reflects.
Large, soft sources
A large softbox produces gradual transitions and is a good starting point for textiles, paper, wood and matte surfaces. The closer and larger the source is relative to the product, the softer the shadows will be.
Controlled reflections
Glass, metal and lacquered finishes don’t “receive” light—they reflect the environment. Instead of pointing a lamp directly, create white surfaces for the product to reflect and use black flags to sculpt edges. Moving the light by a few centimetres can completely transform the result.
Transparencies and liquids
Bottles, jars and transparent containers usually require side lighting or backlighting to define their contour. Check the background, the label and the liquid level separately. Sometimes it’s best to make multiple exposures and combine them in post-production.
Color and consistency
Work with a stable color temperature and a high Color Rendering Index (CRI). Run a color chart test at the start of each session and keep the same setup for the entire series. Auto white balance can shift between photos and produce an uneven catalog.
Camera settings for product photography
Aperture and depth of field
For a full packshot, a mid-range aperture usually works—typically f/8–f/11—adjusted for size and distance. Small or very deep products may require focus stacking. If you only want to separate the background, a wider aperture can be intentional.
ISO and shutter speed
With a tripod and studio lighting, keep ISO low to preserve detail and color. With flash, shutter speed must respect the camera’s sync; with continuous light it can be longer, but the tripod becomes essential. The priority is that the image remains sharp and repeatable.
RAW, focus and white balance
RAW format preserves information to correct exposure and color without degrading the original file. Focus on a defined point of the product, disable automations that may change between shots and check sharpness at 100% magnification. An image that looks correct at small size can reveal focus issues when zoomed for an online store.
Product preparation before shooting
Preparation is part of production, not a minor detail. The sensor records dust, fingerprints, lint, wrinkles and small scratches that can go unnoticed to the naked eye.
- Clean the item with a product compatible with its material, and wear gloves when you might leave marks.
- Remove dust from joints and seams with gentle air; do not bring the nozzle close to delicate surfaces.
- Iron or steam garments and position labels consistently.
- Check that lids, zippers, drawstrings and accessories are present.
- Define how each reference will be presented and prepare a shot list.
- Separate damaged or different products so they are not accidentally included in the final set.
Practical rule: Five minutes of preparation usually saves far more retouching time. Cleaning and correct placement also make shadows more natural.
Professional workflow: from briefing to delivery
1. Briefing and objectives
Define the number of references, variants, angles, formats, channels, release date and visual examples. Ask which images will be primary and which will be used for detail shots, ads or social media.
2. Shot plan and preparation
Organize products by size, material and priority. Create a naming convention that links SKU, variant and view. This prevents ambiguous files and unnecessary repetitions.
3. Set-up and testing
Assemble background, camera, tripod and lights. Do a test with the most representative product. Check edges, reflections, shadows, color and clipping space before photographing the batch.
4. Repeatable capture
Mark positions and use the same sequence of angles. Review after every set number of products, not only at the end. If a reflection appears or the scale changes, correct the set immediately.
5. Selection and post-production
Discard images that are blurred or have unwanted expressions or reflections. Then perform color correction, cleaning, cropping, alignment and export using a common preset for the entire series.
6. Quality control and delivery
Check that each SKU has the agreed views, that file names are correct and that the formats open without errors. Deliver a clear folder structure and keep a master file for future adaptations.
Post-production and file preparation
Editing should improve the product’s legibility, not change it. Adjust exposure, contrast and color balance with moderation; remove dust and supports; correct small irregularities and preserve the textures the client needs to see.
For a white background, ensure edges have no gray halos and that bright areas of the product are not lost. In catalog photography, align the object and maintain a consistent visual scale. For campaigns, allow more creative freedom, but keep the item’s color faithful to reality.
- Save a high-resolution master and export optimized copies for each channel.
- Use a consistent color profile and review files on a calibrated monitor whenever possible.
- Adapt the crop for mobile without cutting off logos, closures, or other important elements.
- Include descriptive alt text when images are published on a website.
Artificial intelligence with judgment
AI can speed up background removal, generate format variants, extend an image, or propose a conceptual scene. It can also help classify files and detect differences between shots. However, a commercial image must still accurately represent the real product.
Use generated backgrounds only when the context aligns with the brief, and do not attribute to the item features that do not exist. For color, shape, labeling and proportions, the original photograph must be the reference. Human review remains essential before publishing.
Good use of AI: automate repetitive tasks and explore ideas. Misuse: invent materials, components, or features that the buyer will not receive.
Requirements for online stores and marketplaces
Each channel may require different aspect ratios, background, size, safe area and number of views. Before producing, gather the marketplace's up-to-date specifications and turn them into a checklist. Don't design the entire shoot around a single platform if the catalogue will also be published on others.
As a baseline, prepare a clear main image, side or rear views when they provide information, texture details, and a usage scene if the channel allows it. Maintain the same color reference and avoid overlaid text on the main image when rules prohibit it. Our page on photography for Amazon and marketplaces summarizes how to approach this type of production.
Common mistakes that reduce quality
- Photographing with a lens that is too wide-angle and distorting proportions.
- Mixing color temperatures or changing the light position during the series.
- Leaving dust, fingerprints or wrinkles to “fix later.”
- Using a white background with dirty shadows or clipped edges that show a halo.
- Publishing only a single view when the product has important details on the back.
- Naming files generically and losing the connection to the SKU.
- Retouching so much that color or texture no longer represent the real item.
- Forgetting mobile display and delivering crops that cut off the product.
Pre-publication checklist
- Is the product clean, complete and correctly positioned?
- Do the shape, color and texture match the actual item?
- Are framing and scale consistent with the rest of the catalog?
- Does the main image work on small screens?
- Are there enough views to explain the product without confusion?
- Do the files have the requested format, size and file names?
- Does the alt text describe what appears without stuffing it with keywords?
- Have links, compression and uploads been checked before publishing?
Frequently asked questions about product photography
Can I take the photos with a mobile phone?
Yes — for a small number of SKUs, tests or quick content. A phone with good lighting and a tripod can deliver useful results. When hundreds of consistent images, exact color reproduction, macro shots or high-resolution files are required, studio equipment and a controlled workflow offer greater certainty.
Does a white background mean that all photos must look the same?
The series should be consistent, but not necessarily identical. You can keep camera, scale and lighting for catalog images, and later create contextual photos to convey usage and style.
How many images does a product page need?
It depends on the item. As a starting point, use a main view, two or three complementary angles and detail shots of the features that influence the decision. The number should answer the buyer's questions, not a fixed figure.
What should I send to the studio?
In addition to the products, prepare the briefing, brand references, requirements for each channel, a list of variants and the target date. The clearer the information, the easier it will be to quote and organize production.
Do you need images for your catalog?
Tell us which products you have, how many SKUs there are and where they will be published. At Epic Studio we work from Torrevieja with brands, manufacturers and online stores across Spain and Europe.
Message on WhatsApp or visit our Portfolio to see examples.