A person in the image can explain a product’s use, scale and attitude better than a standalone photo. But adding a model does not always improve an ecommerce product page: it can also distract attention, increase production costs, or make comparing product variants more difficult. In this guide we analyze when it’s worth working with a model and how to plan a shoot that remains clear, consistent and effective for selling.
Contents
When a model adds value
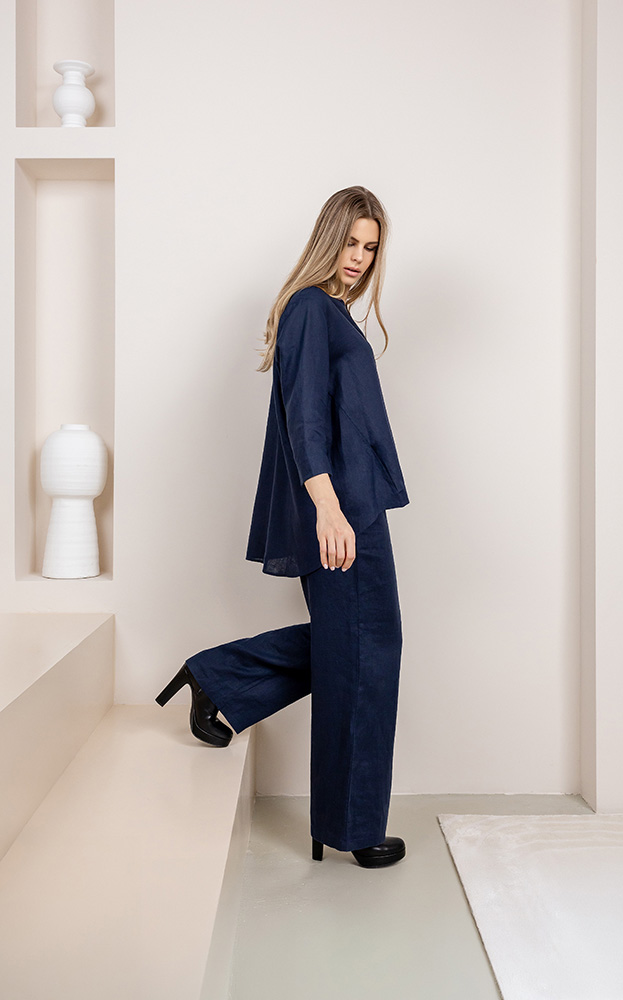
Working with a model is worthwhile when the buyer needs to imagine the product in a real situation. A person provides scale, movement and context: they show how a garment drapes, where an accessory sits, or the size of an item in the hand. It also helps convey a brand attitude that a standalone photo cannot communicate.
It's not necessary to include it in every image. An effective strategy typically combines a clean image to identify the product with one or two model scenes to convey usage and style. That way the gallery remains clear while also addressing more emotional considerations.
Model, packshot, or both
The packshot is the foundation for comparing color, format and details. The model image answers a different question: how does it look or how is it used? In ecommerce, display the view that identifies the product first, then show the contextual scene. In campaigns and on social media you can reverse the order if the primary goal is to inspire.
Establish this hierarchy before shooting. If all images are contextual scenes, the buyer may not understand exactly what the product includes. If all are isolated packshots, the brand misses the opportunity to show fit, scale and lifestyle.
Style and fit of the garment
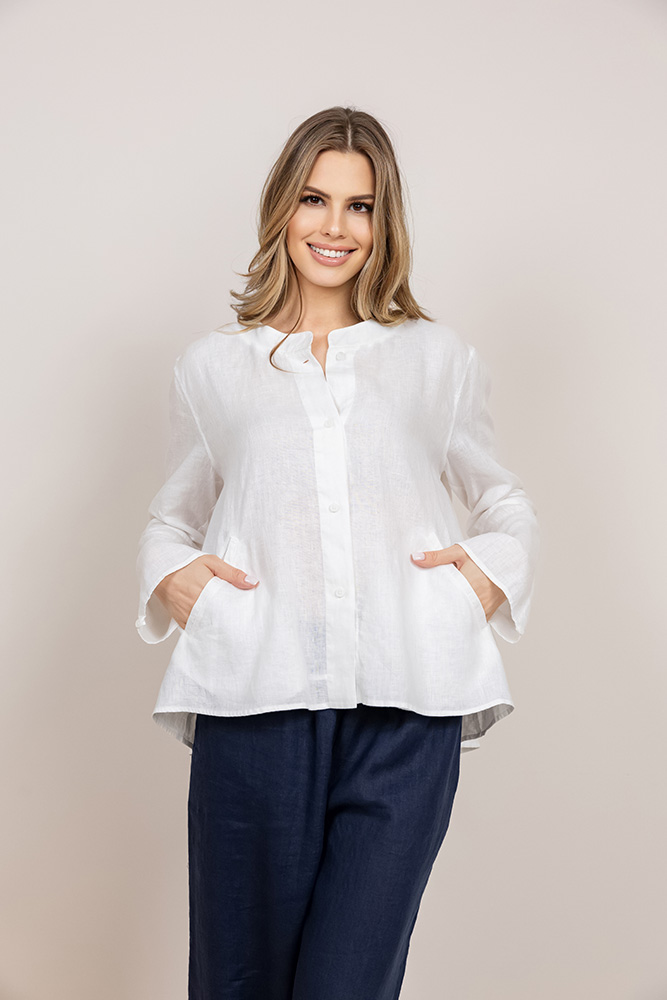
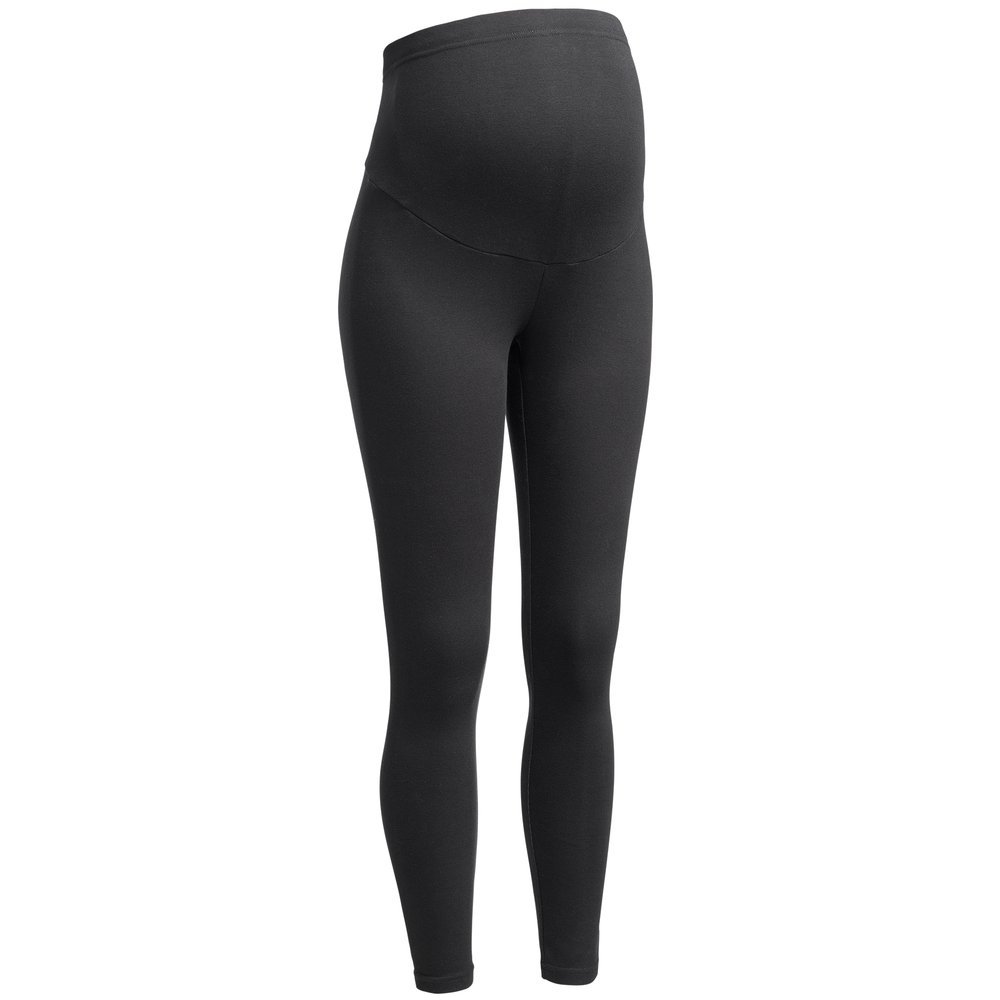
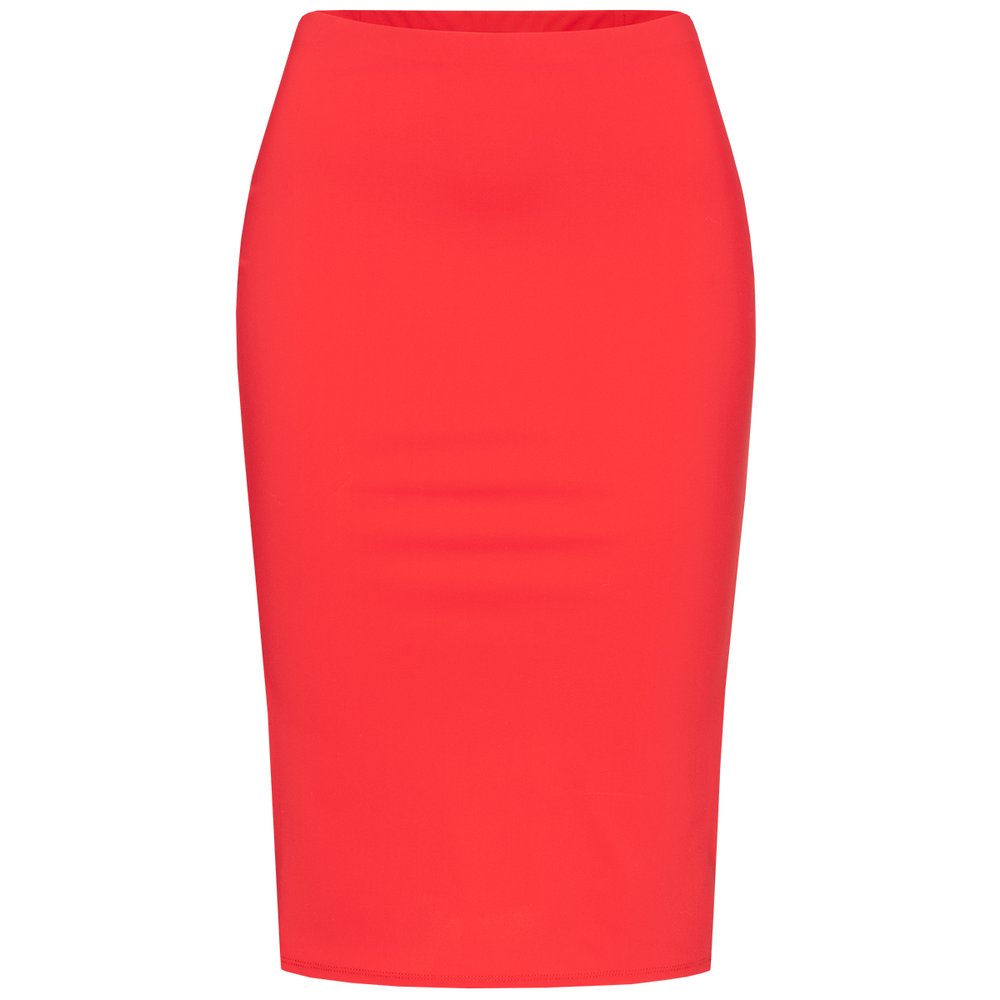
In apparel, a model shows length, drape, volume and proportion. It's especially useful when cut or fit are key purchase factors—maternity garments, structured jackets, dresses and ensembles with movement. Poses should keep seams, closures and other areas the customer needs to evaluate clearly visible.
Prepare sizes, press each piece and agree on a pose guide. For a collection, maintain consistent camera height, light direction and framing. Changing model or styling between SKUs may be appropriate for a campaign, but not for a catalog that requires comparability.
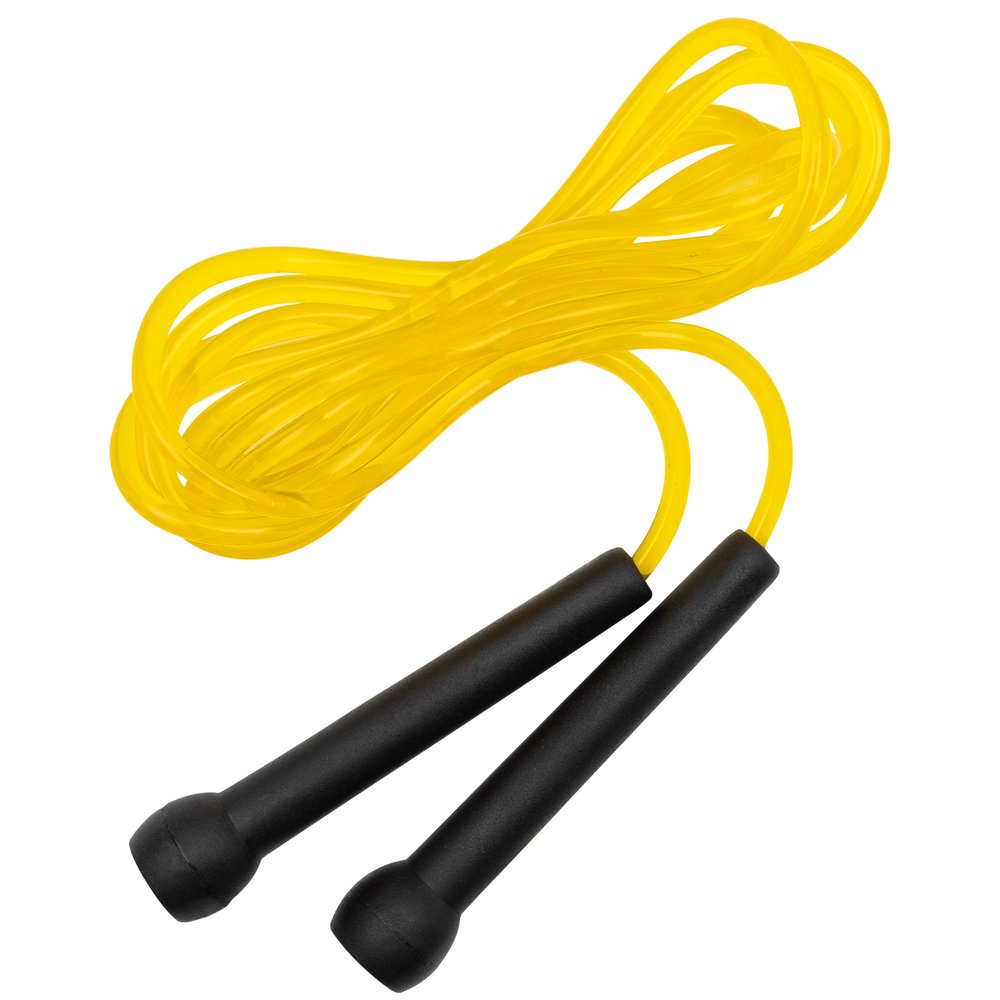
Scale and use in accessories
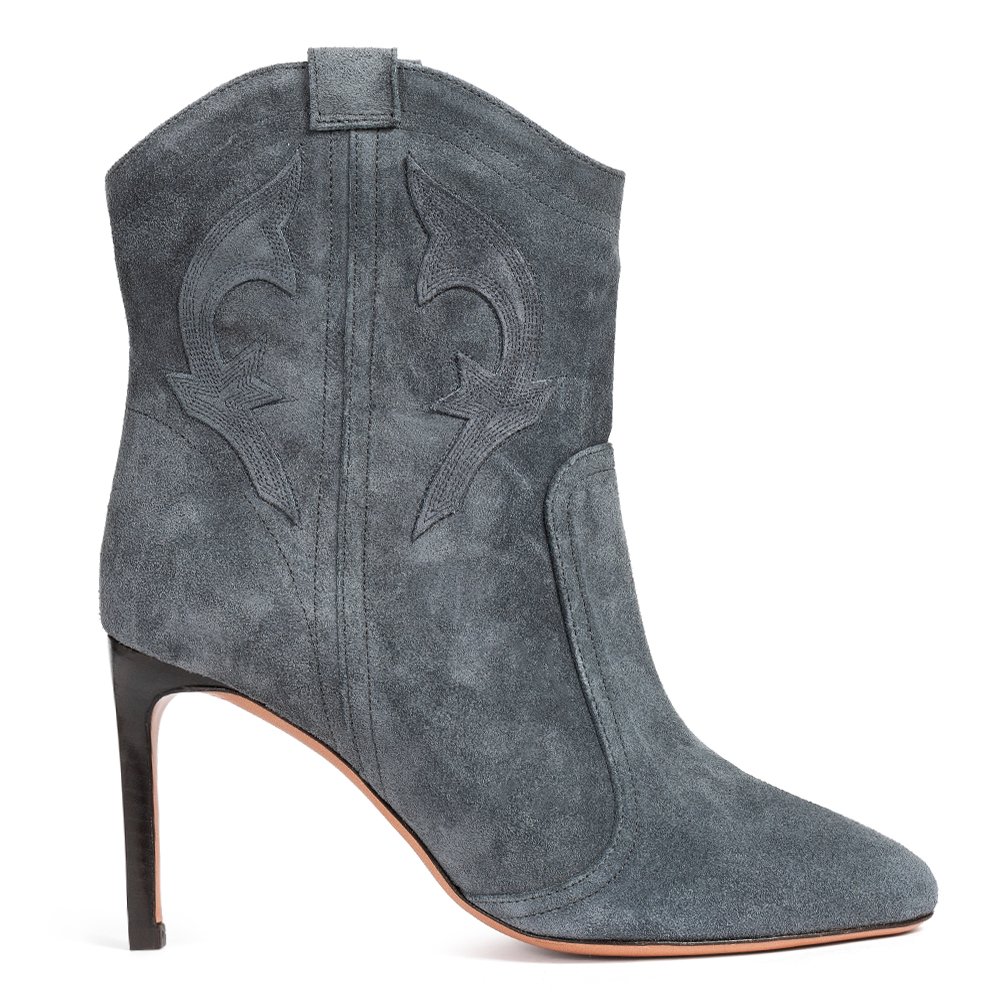
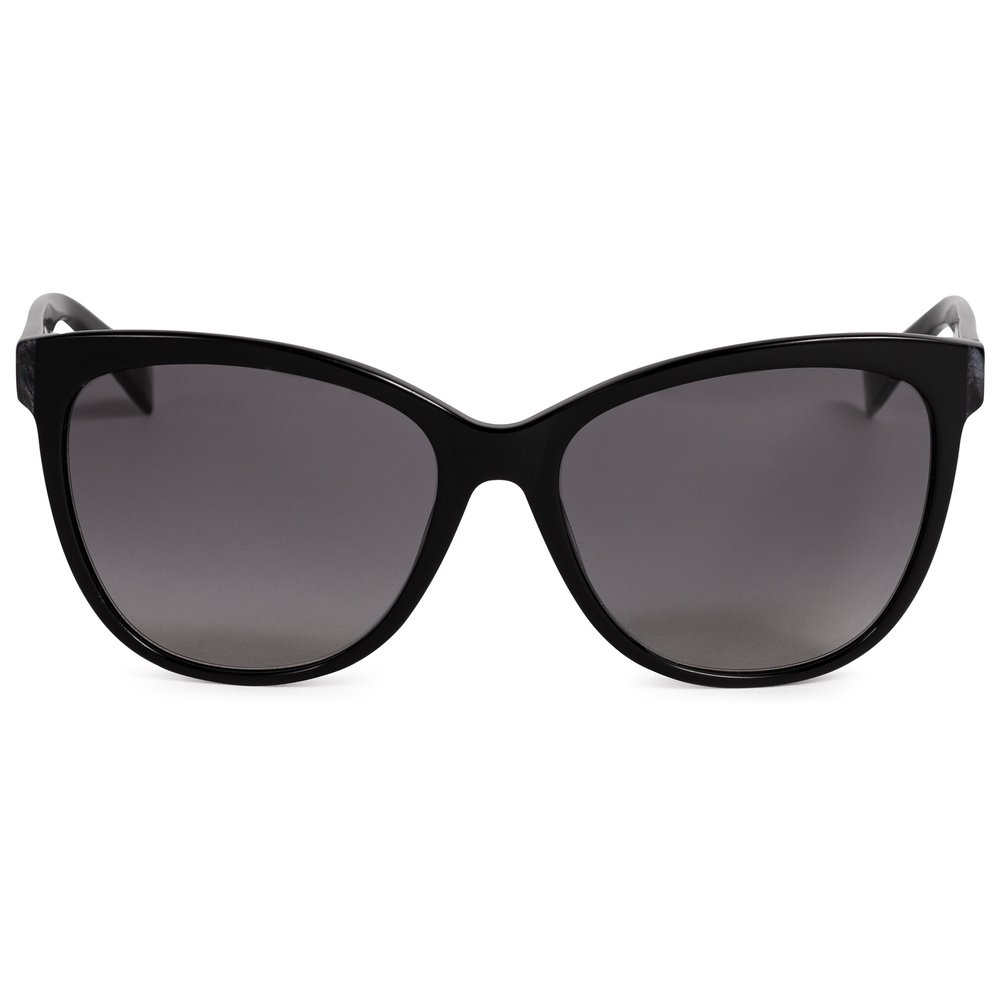
Bags, glasses, footwear and hats typically benefit from a human reference because their size and shape change when worn. Photography should show how the product sits, which areas contact the body, and how much space it occupies within the outfit.
Avoid letting the model’s hand, face or clothing hide the item you want to sell. If the accessory has a significant texture, include a close-up shot without a model and maintain consistent color treatment across the entire gallery.
Cosmetics and product demonstration
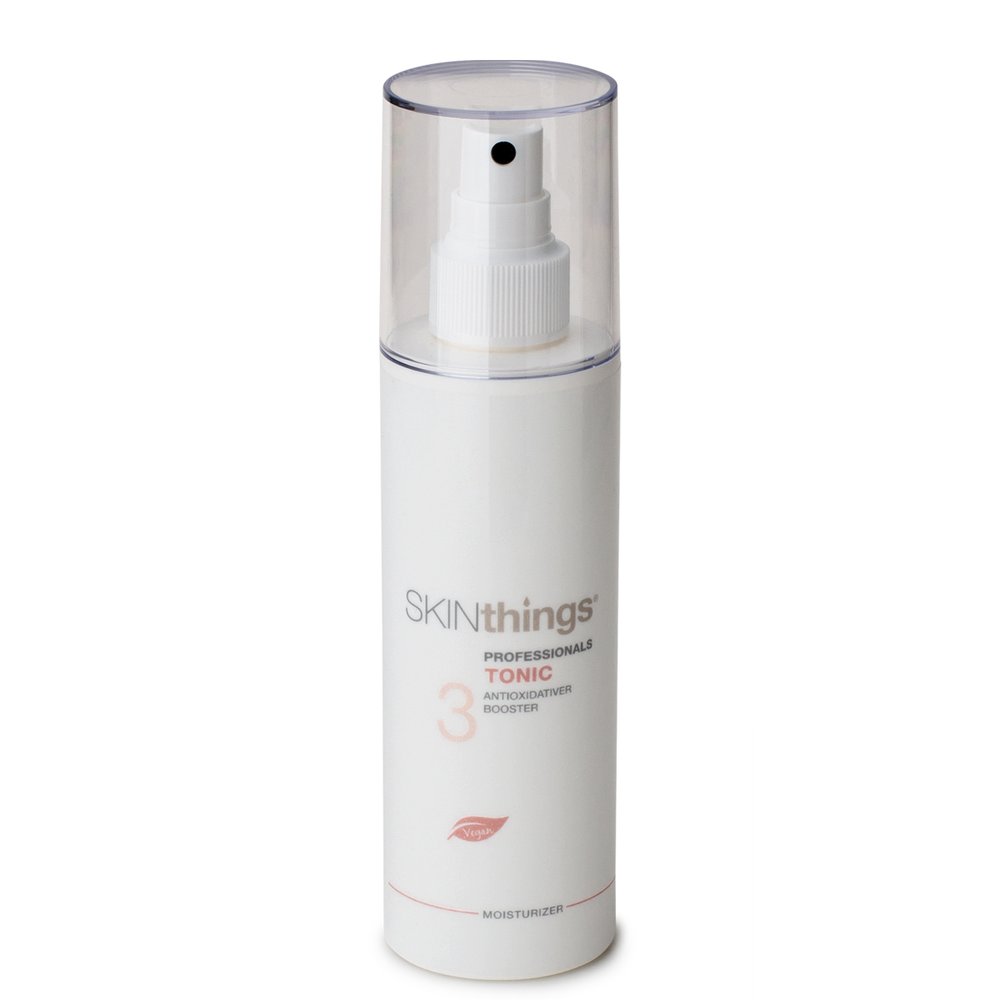
In cosmetics, a model can demonstrate application, texture and quantity. A usage scene works when the result depends on the skin, the gesture or the applicator. Even so, the main image must clearly show the packaging and the product name.
Maintain continuity: skin tone, hands, nails, hair and makeup should follow the brand's visual identity. Also photograph a shot of the opened product or its texture on a clean surface so the buyer can assess the finish without relying solely on the scene.
Direction, poses and consistency
A successful shoot isn’t about asking the model to improvise in front of the camera. Prepare a pose script: frontal, three-quarter, movement, hand details and natural interaction with the product. Do a quick test and check that the pose doesn’t distort the garment or conceal the logo.
Direction also encompasses the model’s gaze and rhythm. For a product page, a simple, repeatable attitude usually performs best; for a campaign you can allow more emotion. In both cases, record the poses that work so they can be reproduced in future variants.
Planning, permits and production
Before booking the session, define the number of products, wardrobe changes, makeup, location, duration and the channels where the images will be published. Include lighting references, background type and mandatory shots for each product in the briefing.
Confirm in writing the permitted uses of the photographs, the license duration and the territories. Prepare a plan B for the location and allow margin for size changes, stains or minor incidents. An organized production protects the budget and avoids reshoots.
Retouching and channel adaptation
Retouching should clean the scene without altering the product’s true shape. Remove dust, minor wrinkles and background inconsistencies, but preserve the texture of skin, fabric and materials. If there are multiple references, match framing, color and contrast so the gallery reads as a cohesive series.
Deliver a full version for the store, vertical crops for social media and files with the necessary space for campaign copy. Archive the original photographs and an editable version for future format or language adaptations.
Checklist and Frequently Asked Questions
Checklist: define the objective of each shot; separate packshots and scenes; choose model and sizes; prepare styling and poses; confirm usage permissions; check color and scale; photograph details without a model; deliver versions for each channel.
Do I always need a model? No. If the product is purchased for its shape, color or technical specifications, a packshot may be sufficient. A model adds value when usage, scale or attitude influence the purchase decision.
How many images with a model should be produced? As many as necessary to address the main questions, not a fixed number. In a gallery, a general shot, an interaction and a detail usually suffice, accompanied by clean product photographs.
What should the brand send to the studio? Complete products, sizes and variants, style guide, visual references, publication channels and licensing terms. The clearer the brief, the easier it will be to maintain a coherent series.